Frappe
Cloud
Marketplace
Frappe
Products
Insights

Installation Guide
installs
Publisher
Supported versions
Categories
E-Commerce
About
This integration ensures that every invoice created in ERPNext is sent to INCOTEX, acknowledged with a response, and then submitted to KRA, all while storing and tracking the status of each invoice.
How the Integration Works
Invoice Creation: Sales Invoices are created in ERPNext as usual.
Invoice Submission: Upon submission, the invoice is automatically sent to the INCOTEX device via API.
Response Handling: INCOTEX responds with an ID and other related information.
KRA Submission: INCOTEX sends the data to KRA and logs the KRA response under the same ID returned to ERPNext.
Invoice Update: ERPNext updates the invoice with CU Invoice Number, marks it as filed, and stores the verification URL for generating a QR code.
Setup Configuration
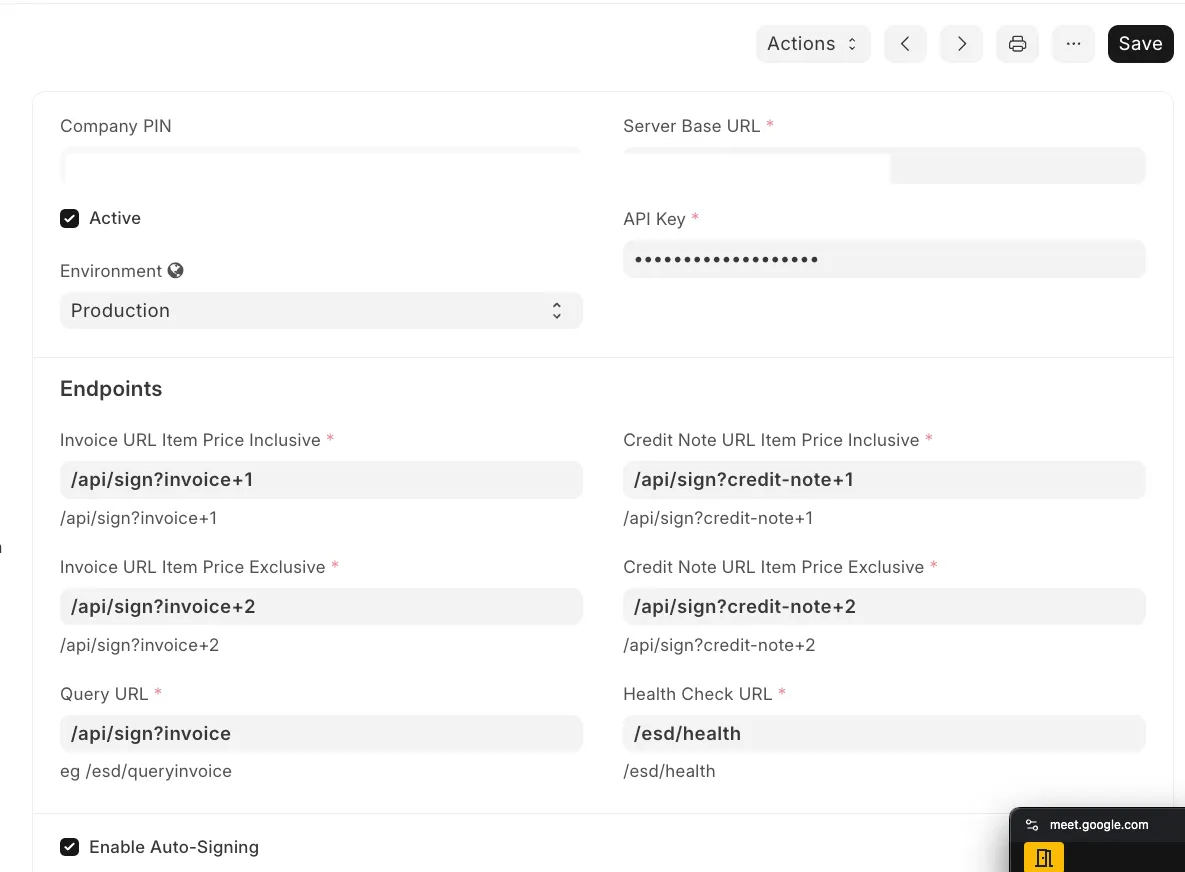
1. TIMs INCOTEX Settings Doctype
Set this up for each company:
Company: This acts as the identifier; each company should have only one configuration.
Environment: Choose between
ProductionorSandbox.Base URL and API Key: Provided by INCOTEX.
2. API Endpoints
Each invoice type and pricing model uses a different endpoint. Configure the following:
Invoice URL (Item Price Inclusive): For invoices where item prices include tax.
Invoice URL (Item Price Exclusive): For invoices where item prices exclude tax.
Credit Note URL (Item Price Inclusive): For inclusive tax credit notes.
Credit Note URL (Item Price Exclusive): For exclusive tax credit notes.
Query URL: To confirm details of already-submitted invoices.
Health Check URL: To check the availability/status of the INCOTEX device.
3. Other Settings
Enable Auto-Signing: Automatically signs invoices after submission.
Health Check Button: A button to manually test the device status.
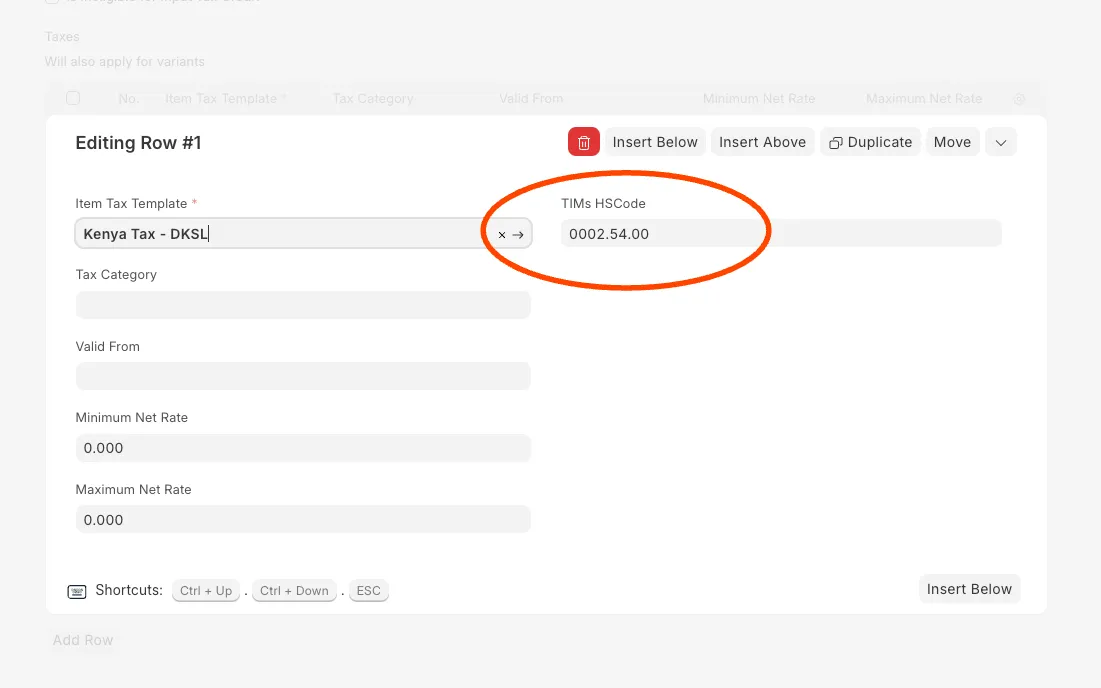
HS Code Configuration
In the Item Doctype:
Go to the Taxes child table.
You will now find a field called TIMs HS Code.
This field allows you to set a unique HS Code per Item Tax Template.
if you have many related items, you can opt to add the item tax template and HS code per Item Group, we have similar taxes table there.
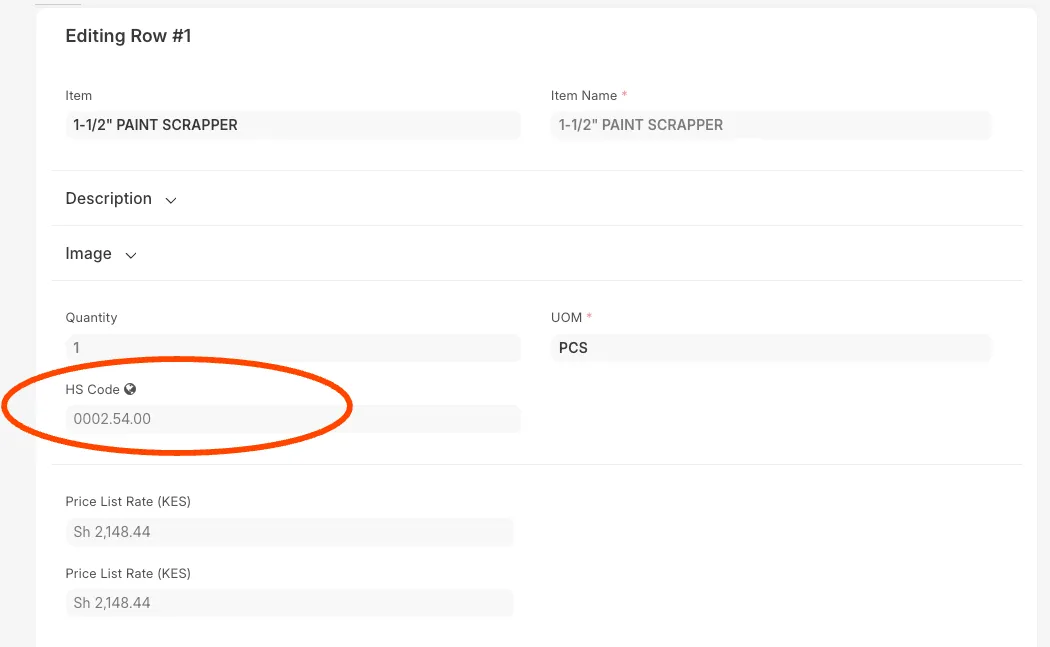
When you create a Sales Invoice:
The HS Code will now appear per line item, under Sales Invoice Item. We have a new field hs code which is autofilled.
This value is auto-filled based on:
1. Item’s Tax Template
2. If not available, Item Group’s Tax Template
3. If still not found, it can be manually selected
This ensures that each item sent to KRA via INCOTEX has the correct HS Code as required by TIMs.
Sales Invoice Flow
Create a Sales Invoice in ERPNext.
Ensure the following:
Tax Category is selected.
Taxes are defined in Sales Taxes and Charges.
This determines whether to use inclusive or exclusive endpoint.
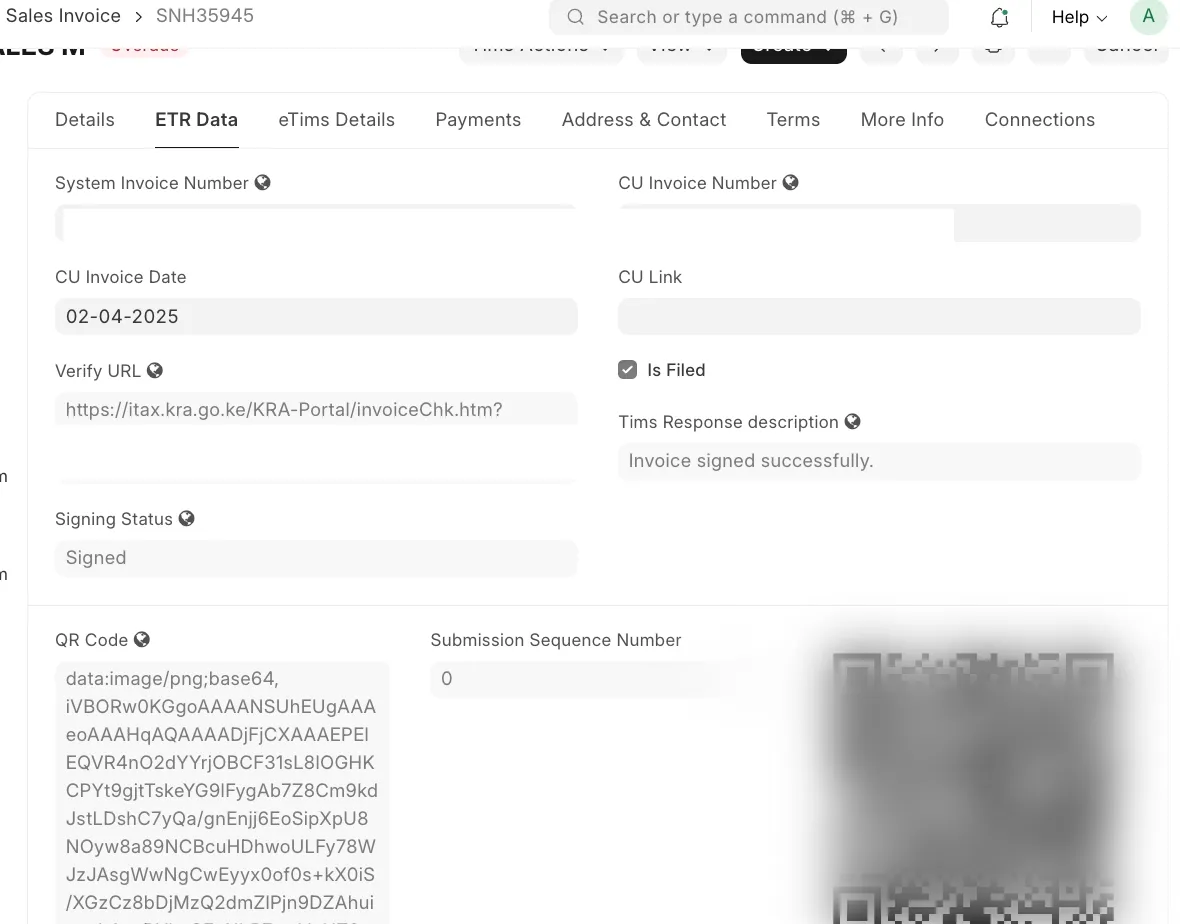
Upon submission:
The invoice is sent to INCOTEX.
A response is received instantly.
Updates are made to the invoice
Use a custom print format to include the QR code on the printed invoice.
💡 If submission fails, ERPNext will show the failure reason, but the invoice will still be submitted locally.
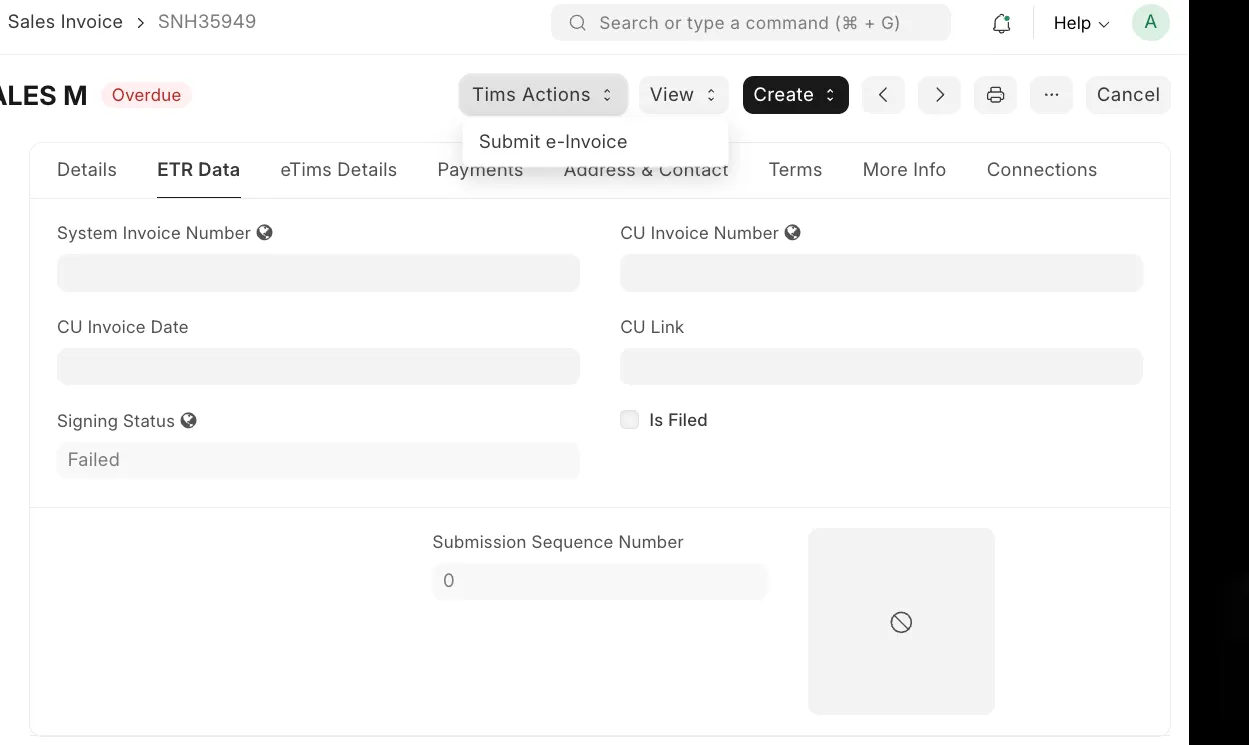
Manual Re-Submission
Use the ETIMs Action button labeled "Submit E-Invoice" to manually resend the invoice if needed.
Scheduler for Auto Submission
A background job (scheduler) handles the auto-submission of pending invoices.
Credit Note Handling
Always create a Credit Note against an existing Sales Invoice.
The system will automatically fetch the correct
CU Invoice Number, which is then stored in the Relevant Invoice Number field.
Upon submission:
The credit note is sent to INCOTEX.
A response is received and recorded, similar to a sales invoice.
⚠️ If you're creating a standalone credit note, manually enter the
CU Invoice Numberfrom the original Sales Invoice to ensure successful submission.
User Reviews
No reviews yet, be the first to review.
0.0
0 rating
More apps from


3e7db7.webp)

Explore more apps